How to Apply Eyelash Extensions Step-by-Step
The detailed steps of applying eyelash
STEP1 Preparation eyelash extensions tools
The eyelash esthetician prepares all the essential tools and products needed, as well as all the tools that will be used in the eyelash application, to ensure the hygiene and safety of the tools used in the use process.
STEP2 Clean clients’ eyelashes
Clean the dirt on the eyelashes and blow dry. Ensure that the eyelashes are clean, so as not to affect the adhesion of the glue used to graft the eyelashes.
STEP3 Isolate the upper and lower eyelashes
Cut out a suitable size isolation eye pad (can be medical tape, eye mask, eye sticker), and separate the upper and lower eyelashes. In order to avoid confusion between the upper and lower eyelashes when the eyelashes are grafted, and cause the glue to stick to the lower eyelid accidentally during the operation.
STEP4 Straighten out eyelashes
Use an eyelash comb or tweezers to straighten the eyelashes one by one, so that the false eyelashes can be better glued to your own eyelashes one by one.
STEP5 Prepare the eyelashes for attaching
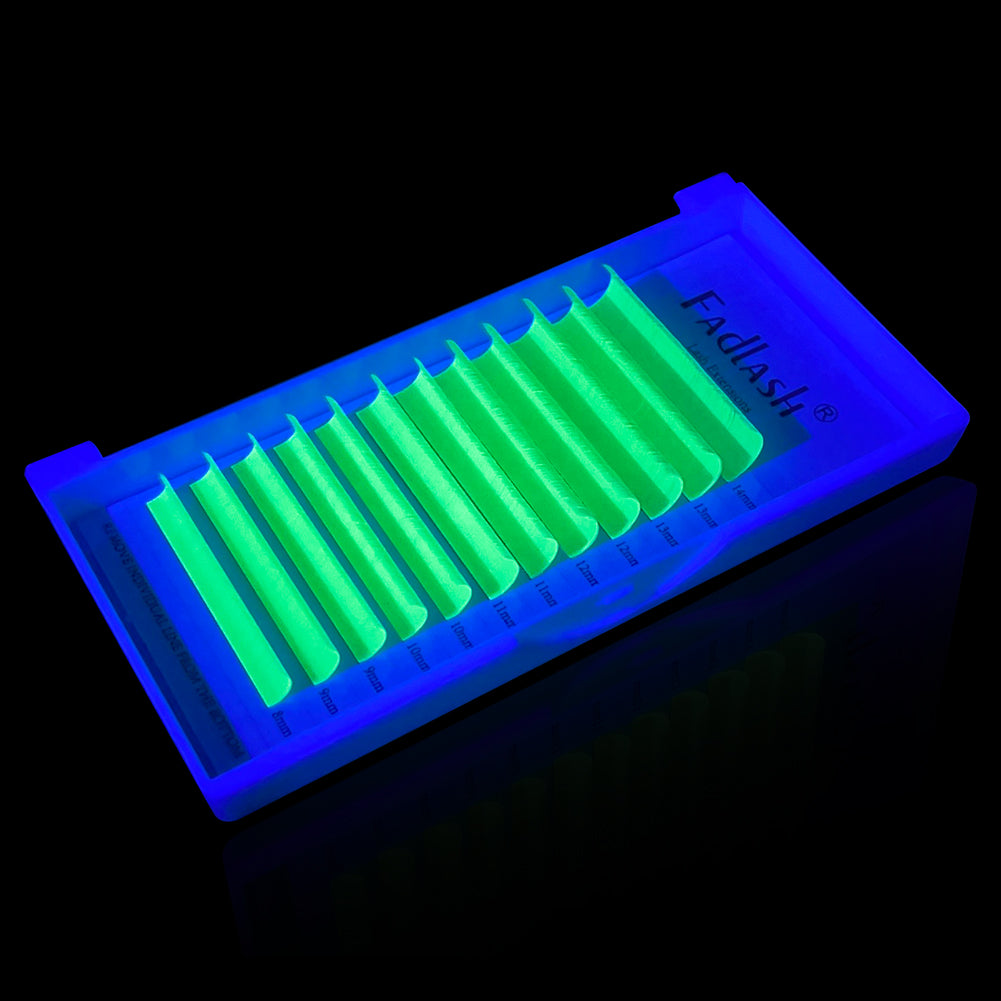
According to the length of the customer's eyelashes, the eyelash artist will choose the suitable eyelashes of different materials and put them on the water table (it can also be a soft cushion or a clean non-woven fabric).
STEP6 Start to graft eyelashes
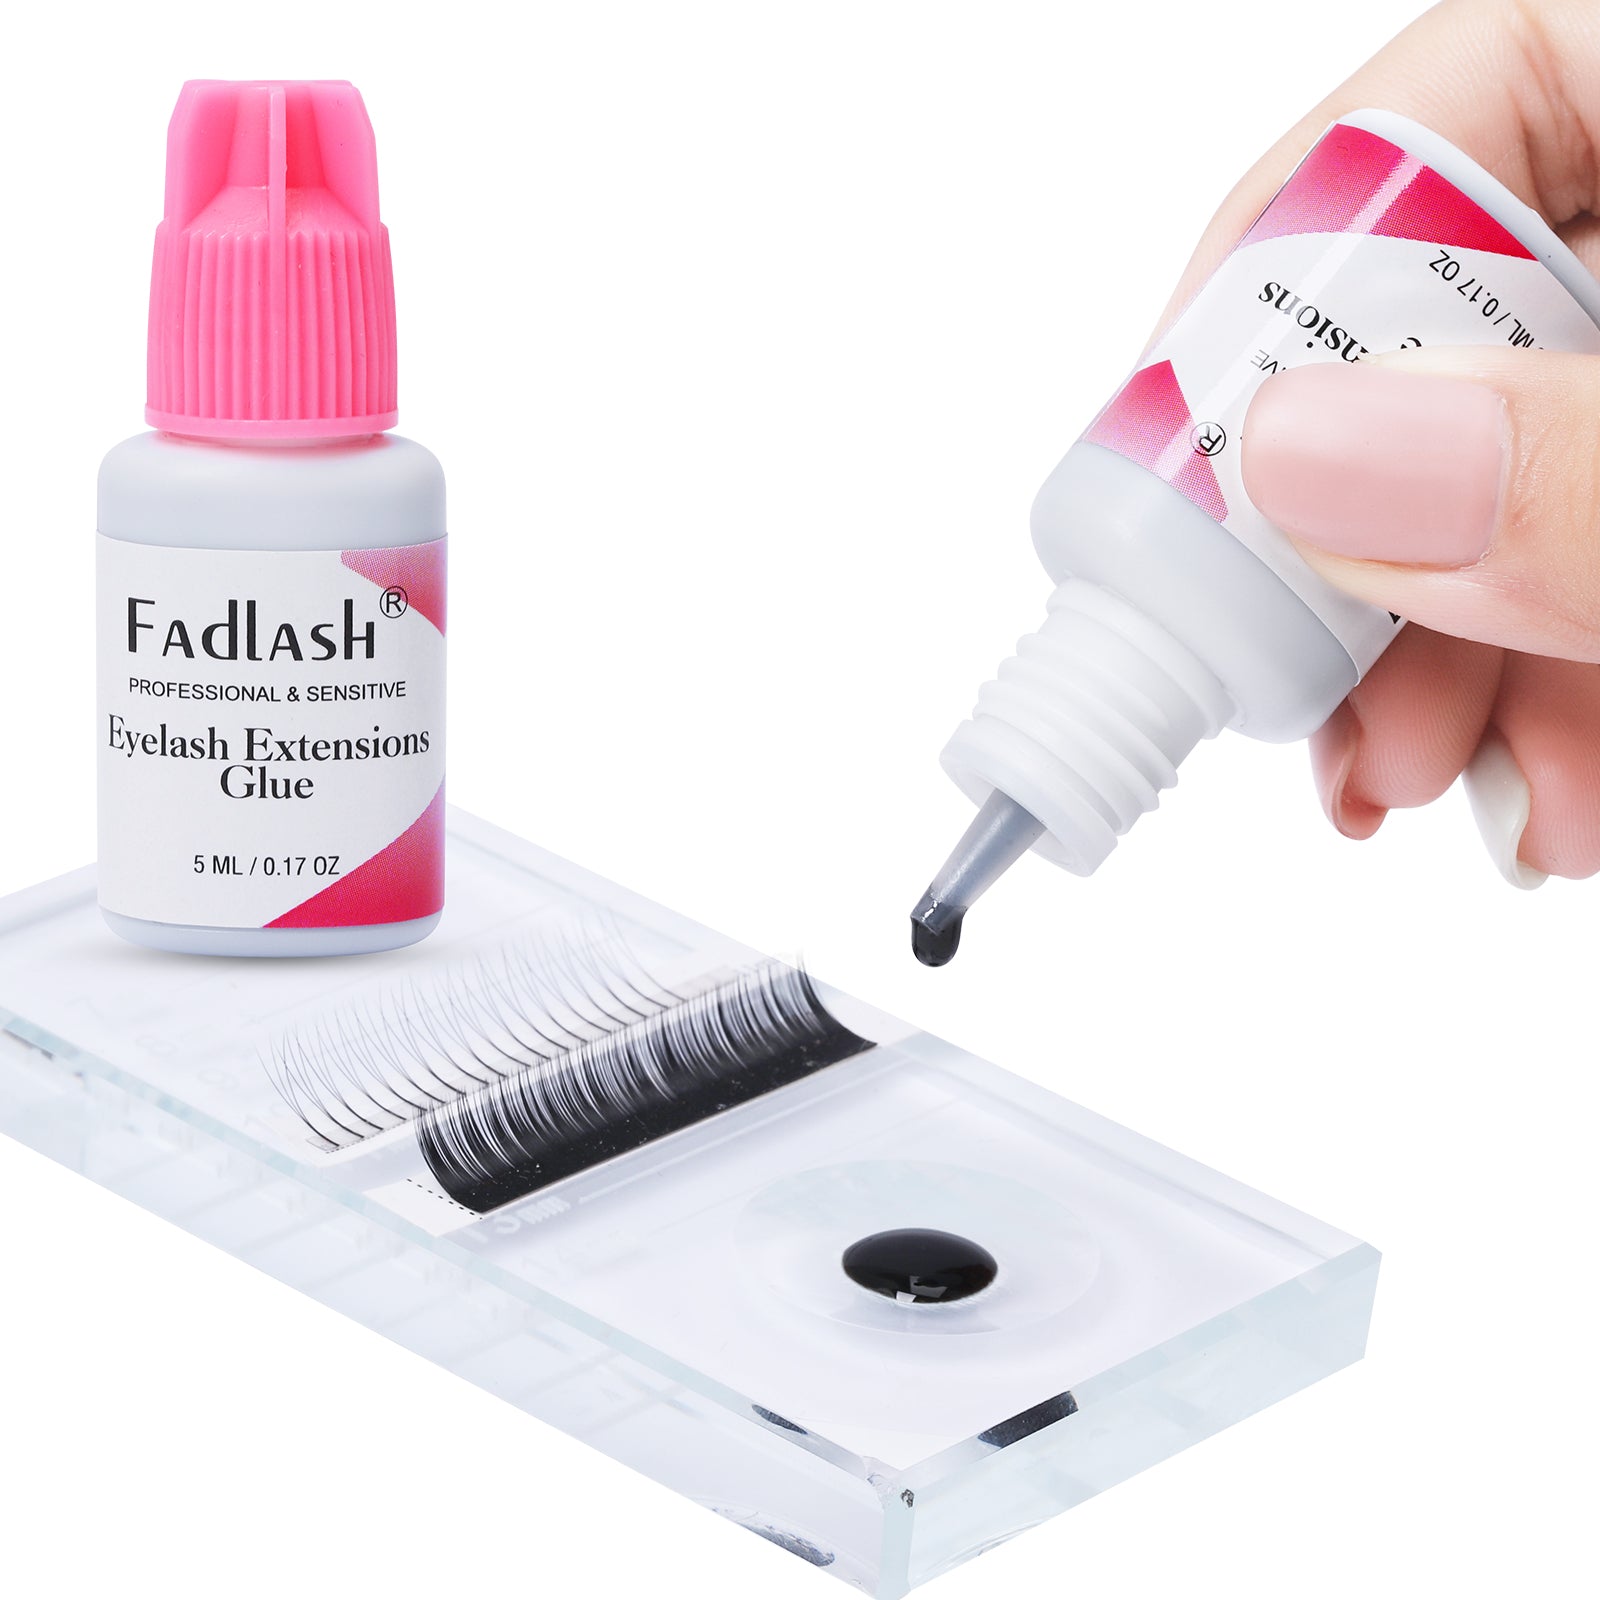
- Shake the eyelash extensions glue, the purpose is to shake the minerals evenly.
- Squeeze an appropriate amount of black glue on the glue table, take less glue each time, and take glue frequently.
- Clamp the end of the eyelash fibers with tweezers, poke about 2/3 of the root into the glue, and then gently drag it out.
- The glued eyelashes are glued to the side of the real eyelashes, 0.5--1mm away from the skin, not more than 1.5mm.
- Each false eyelash should be grafted onto a real eyelash
- At least 2/3 of the length of your own eyelashes is adhered to the false eyelashes, and the arc of the grafted eyelashes should be kept consistent.
- Keep a distance between the grafted eyelashes and the next eyelashes to be grafted, so as not to stick to each other.
STEP7
Check the look result
After application, clean it with a mascara brush to check whether the adhesion is firm. If it falls off or the grafting is not satisfactory, it needs to be filled and trimmed.
STEP8
Dry eyelashes
Blow your eyelashes with a small fan or blower for 5-10 minutes, so that you don’t dazzle your eyes after opening them.
STEP9
Wipe clean eyelids
Remove the plastic wrap from the lower eyelid and wipe the lower eyelid with a paper towel or dry cotton pad.
The essentials of eyelash extensions attaching
- Applying eyelashes should be done in the order of the middle first and then the two sides.
- The false eyelashes should be clipped one by one.
- Glue the eyelashes at intervals to prevent the false eyelashes attached to the side from being affected by the wet glue. After the glue on the front eyelashes is dry, fill it up.
- When sticking eyelashes, the false eyelashes should be properly trimmed according to the principle of long middle and short sides to maintain their fan-shaped characteristics and make the eyelashes look more real and natural.


