How to Use Lash Extensions Glue Step By Step
The first step: "wake up" glue
Each time you use the glue, you need to hold the bottle with your right hand and bump it back and forth 80-100 times at the large thenar position of your left hand to make the glue fully fuse. Do not use the first 2 drops of the newly opened glue.
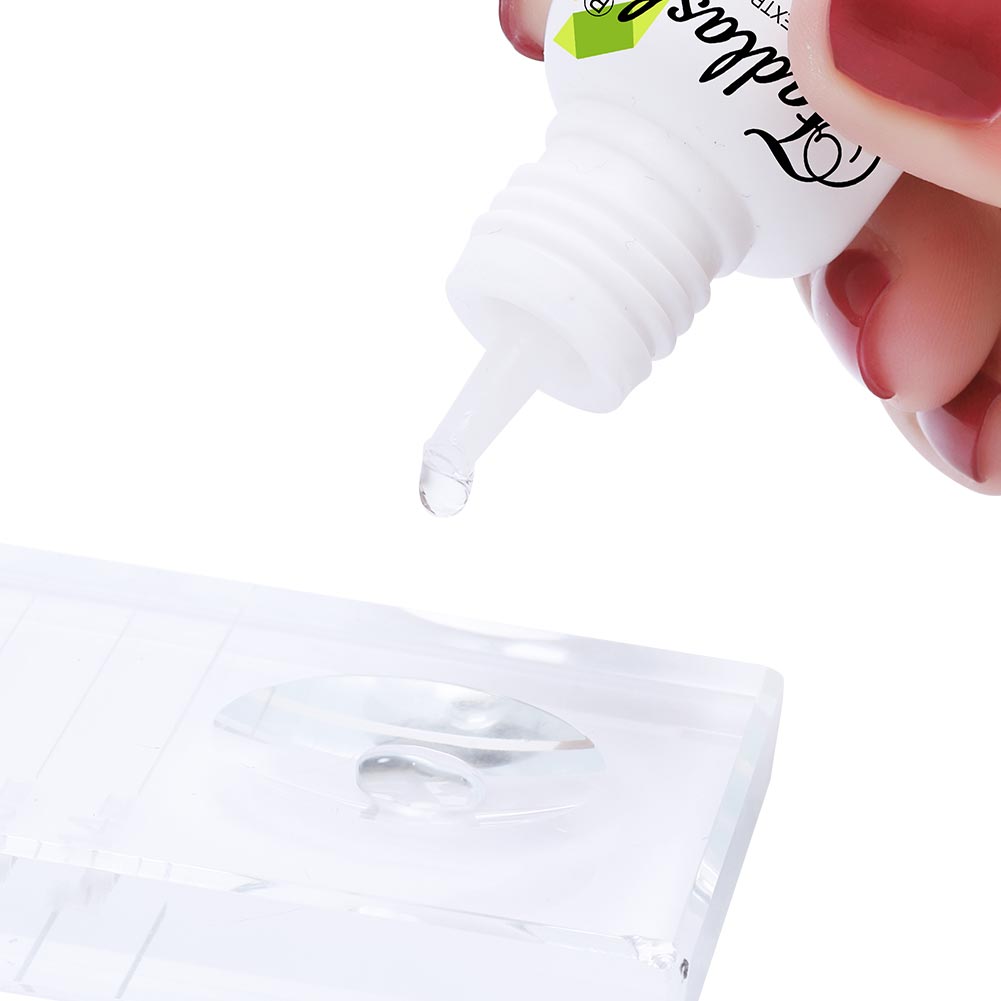
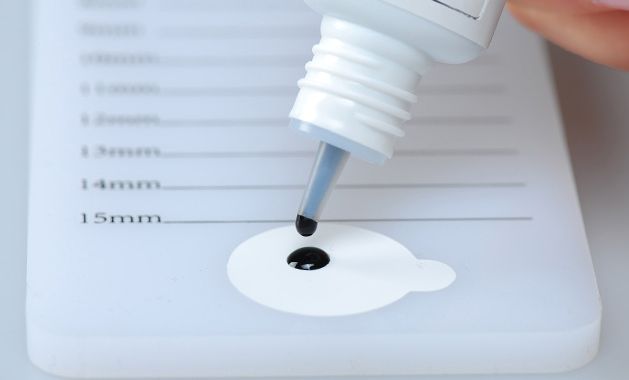
Step 2: Drop Glue
It is recommended to use glue stickers, vertical drop of glue, less frequent changes, it is recommended to replace every 15-20 minutes, and replace the stickers together. The glue delay cup can also be used to extend the use time of glue, avoid repeated dripping and save glue.
Step 3: Wiping
After the wiping glue is used up, hold the bottle and gently pinch it down on the workbench to make the glue in the bottle flow back into the bottle, and then wipe the remaining glue at the mouth of the bottle clean and squeeze out the excess Air, dry the mouth of the bottle with a cotton pad for eyelash beauty, tighten the cap and put it in a sealed box together with the desiccant, and store it in a cool and dry place. Usually after the glue is used up, there will be a certain amount of residue in the bottle mouth. Over time, the accumulation will block the bottle mouth, or the remaining glue will solidify the bottle cap, which will reduce the sealing effect to a certain extent and reduce the service life of the glue. Wiping work after use cannot be less.
Step 4: Dip the glue
It is recommended that the amount of glue taken for a single hair grafting is preferably at 1/3 or not more than 1/3.


