How To Applying Bottom Lashes
How to applying bottom eyelashes?
Here are the steps to teach you:
1. After the upper eyelashes are finished, fix the upper eyelashes on the eyelids with eye sticks, clean the bottom eyelashes thoroughly and then dry them to avoid the secretion of oil and accelerate the fall of the well-done eyelash extensions.
2. The bottom eyelashes are pasted upside down, with the top part facing themselves on the hair removal table. When removing the eyelashes, use tweezers at the upper middle of the bottom eyelashes and remove them at 90 degrees.
3. Dip the glue in a reverse buckle, slow in and out quickly, so that a small bead of glue is attached to the root of the false eyelashes. Use a small cotton swab to gently press down the lying silkworm. Let the angle of the lower eyelashes turn down for easy compliance.
4. Put on the false eyelashes with small glue beads, fit on the top of the lower eyelashes, and gently slide up and down, so that the glue beads will wrap the real and false eyelashes more firmly (the lower eyelashes are generally soft and have a small contact area, so you need to wear glue Bead wrap). After the application is completed, hold it up before the glue is not set right away, and make the direction neat. If you encounter skewed eyelashes, the false eyelashes need to be corrected (only need to put the glue beads on the root).
5. Only 15 or so grafts for one eye are more suitable for daily commuting. Remember to blow dry at the end.
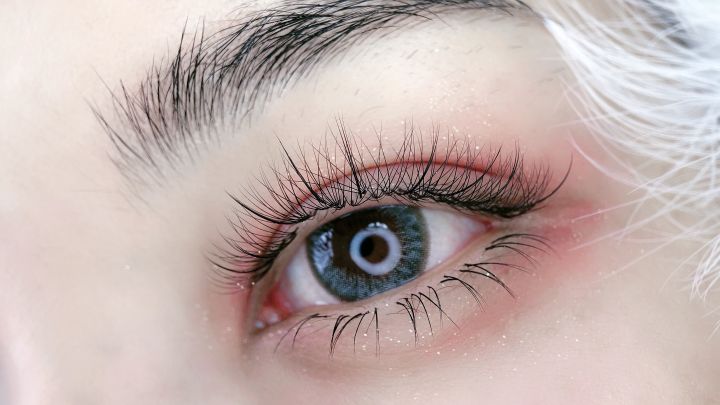
The eyes grafted with lower eyelashes have distinct, slender and soft details, and a touch of the bottom lash line.


