Complete Guide to Apply DIY Lashes
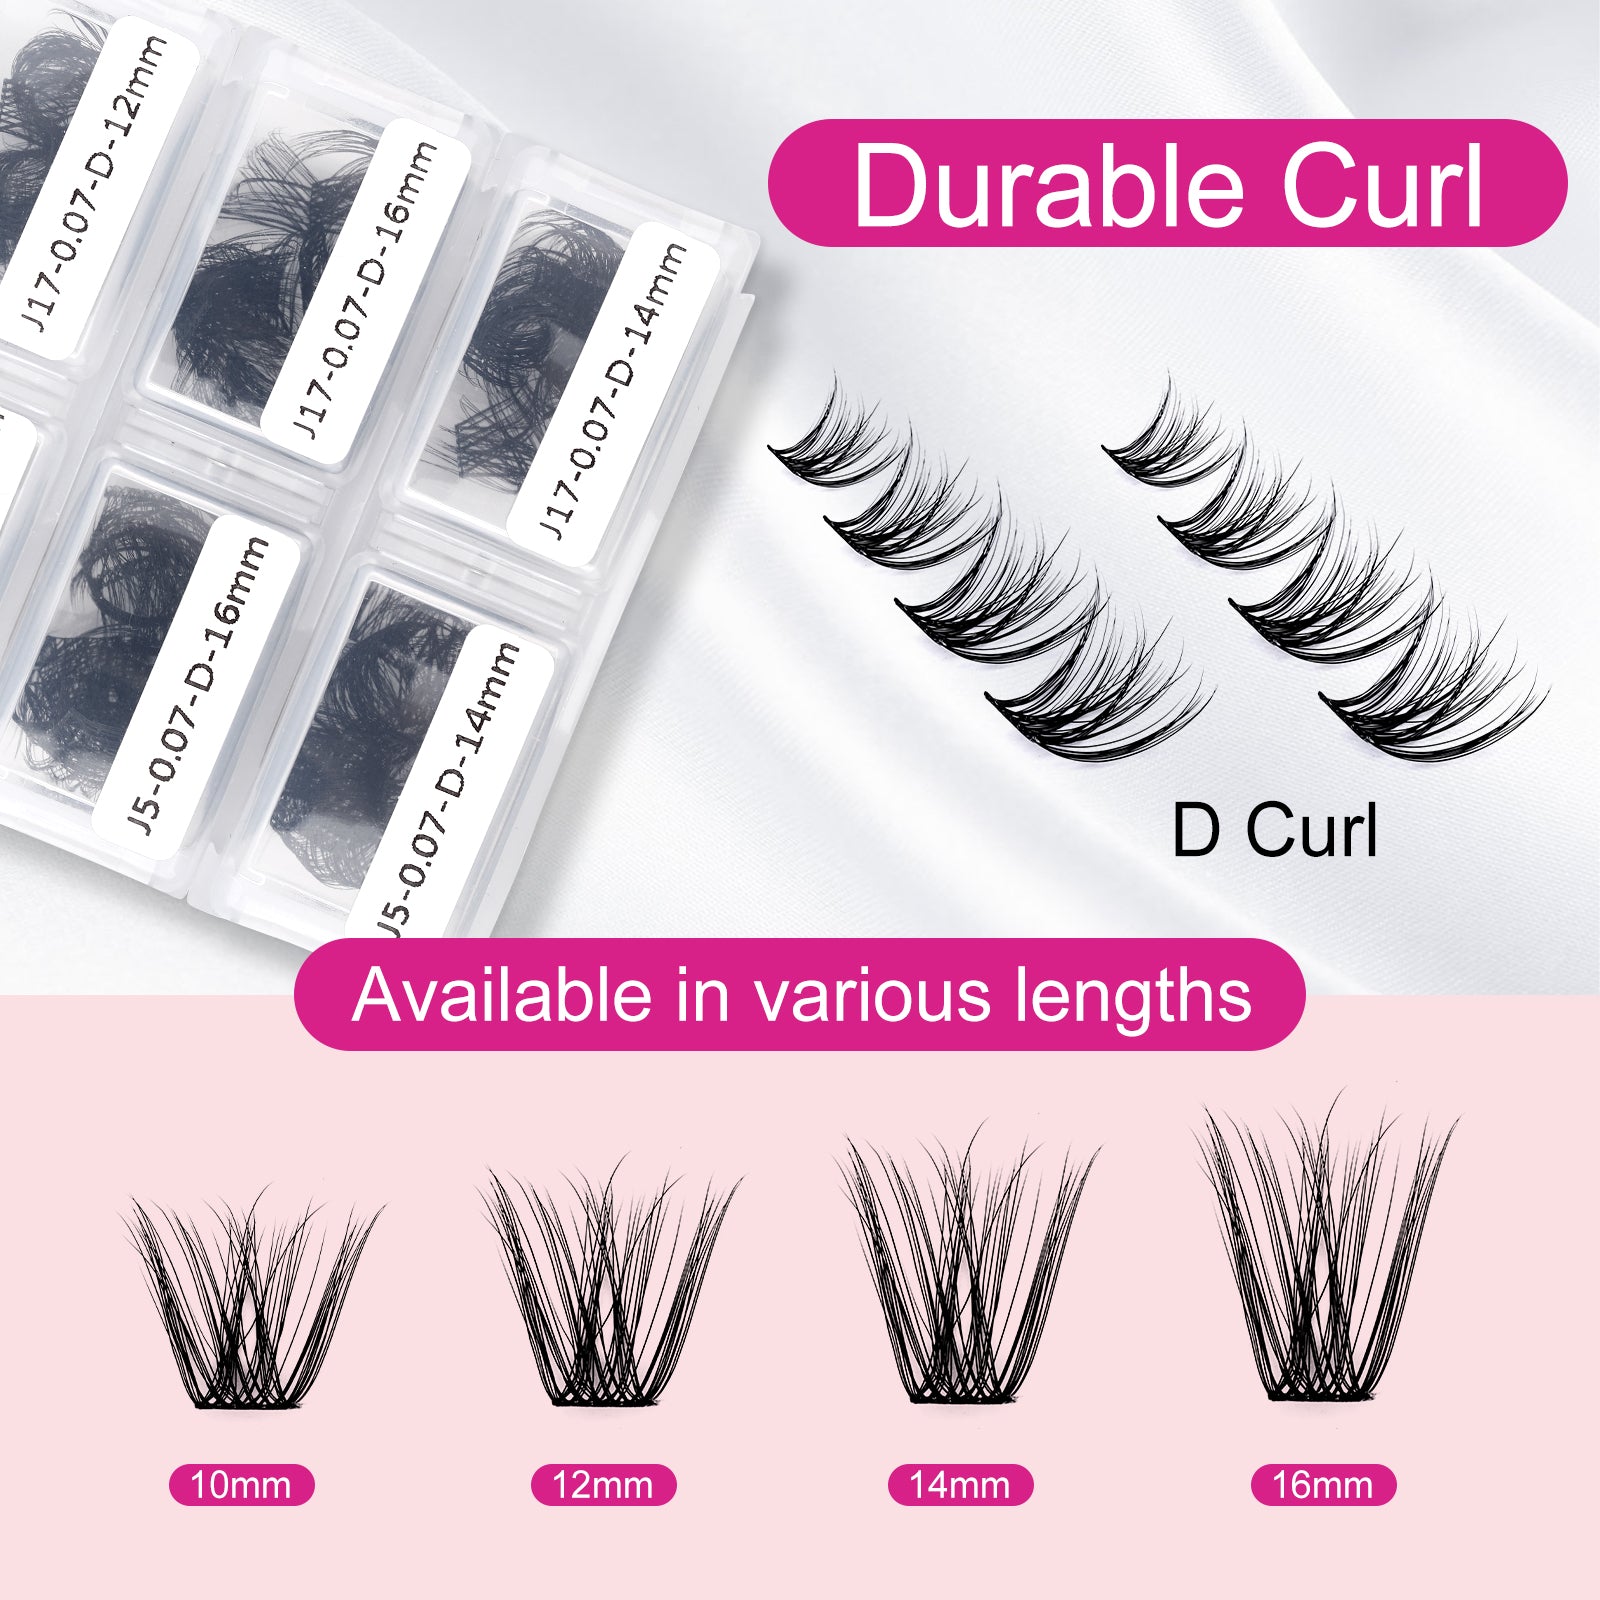
The biggest advantage of clusters lashes is that they are comfortable, they do not stick to the head of the eye or open glue, and they can be combined with each other at will.
In addition, the more common method of applying DIY lashes is to stick them underneath your own eyelashes, while the regular false lashes is to stick them above. Overall, both types of eyelashes have their own advantages, and the key is to choose depending on your personal needs.
When choosing tweezers, be sure to focus on whether or not the tip of the tweezers closes well!
This is related to how firmly it can hold the false eyelashes, otherwise your fingers will need to work very hard and the lashes will easily fall over when you can't find the right support point.
In addition, eyelash curlers, eyelash primers and tweezers cleaners are also effective tools for attaching single clusters of false eyelashes.
Step 1
When dealing with eyelash problems, whether it's curling, brushing or applying lashes, it's best to keep the mirror tilted back at about 45 degrees.
If the mirror is fixed, tilt your head slightly and lift your chin so you can see the entire condition of your lashes more clearly.
Step 2
The second step is the regular eyelash curl, no need to curl, but at least make sure it doesn't block the view.
Step 3
Brush a layer of eyelash base. This is to comb the lower lashes on the one hand, and also to make the lashes themselves more supportive and less susceptible to being affected when applying a single cluster.
Step 4
Take some eyelash glue and put it on the lid of a single cluster of lashes, you can dab a little bit more, you don't have to stick one cluster and brush one cluster, it's easy to get messy.
Step 5
When we clip the single cluster of false eyelashes, we must clip the back third near the root, never clip the tip of the hair, otherwise the eyelashes will be deformed or even fall apart.
Step 6
After that, dip the front root of the false eyelashes into a little bit of glue, note that there is no glue on the back, of course, it is inevitable that occasionally rub some, then you can scrape a little bit on the lid to clean.
Step 7
When attaching, gently lift your eyebrows to expose the roots of your eyelashes more fully, and then place the single cluster of false eyelashes directly underneath your own eyelashes, taking care not to lean too far down.
If you feel your hands are unsteady, prop your elbows up on the table to find a support point so you don't shake.
For the rest of the lashes, just follow steps 5, 6 and 7 in order to repeat.
But be reminded of two small details:
The gap between lashes should be as even as possible;
The length of the lashes should be layered, like short in the front and long in the back, or long in the middle and short in the sides, so that the curvature of the lashes will look more natural.


