Apply Eyelash Extensions at Home
Eyelash Extensions Step 1: Prepare Yourself with the Tools You Need
The first thing you need to do is to prepare all the tools you need for eyelash extensions. The tools we need are usually included in the eyelash extension kits that you can buy on the internet. Important tools include the following: eyelash brush, glue helper, eyelash tweezers, air blow, glue, and false eyelash remover. Before you get your own eyelash extensions, you should have all these tools that you need to use.
Eyelash Extensions Step 2: Sterilize Eyelashes
Before getting eyelash extensions, we should take care to sanitize our eyelashes first. To sanitize, we need to spray the eyelash cleaning solution carefully on a cotton swab and then use the cotton swab to wipe the roots of our eyelashes. The first purpose of disinfecting is to remove the oils produced by the skin on the lashes so that the false lashes will adhere better to the original lashes. The second purpose of disinfection is to remove bacteria from the lashes to avoid eye irritation caused by the application of extensions.
Eyelash Extensions Step 3: Apply Glue with a Glue Stick
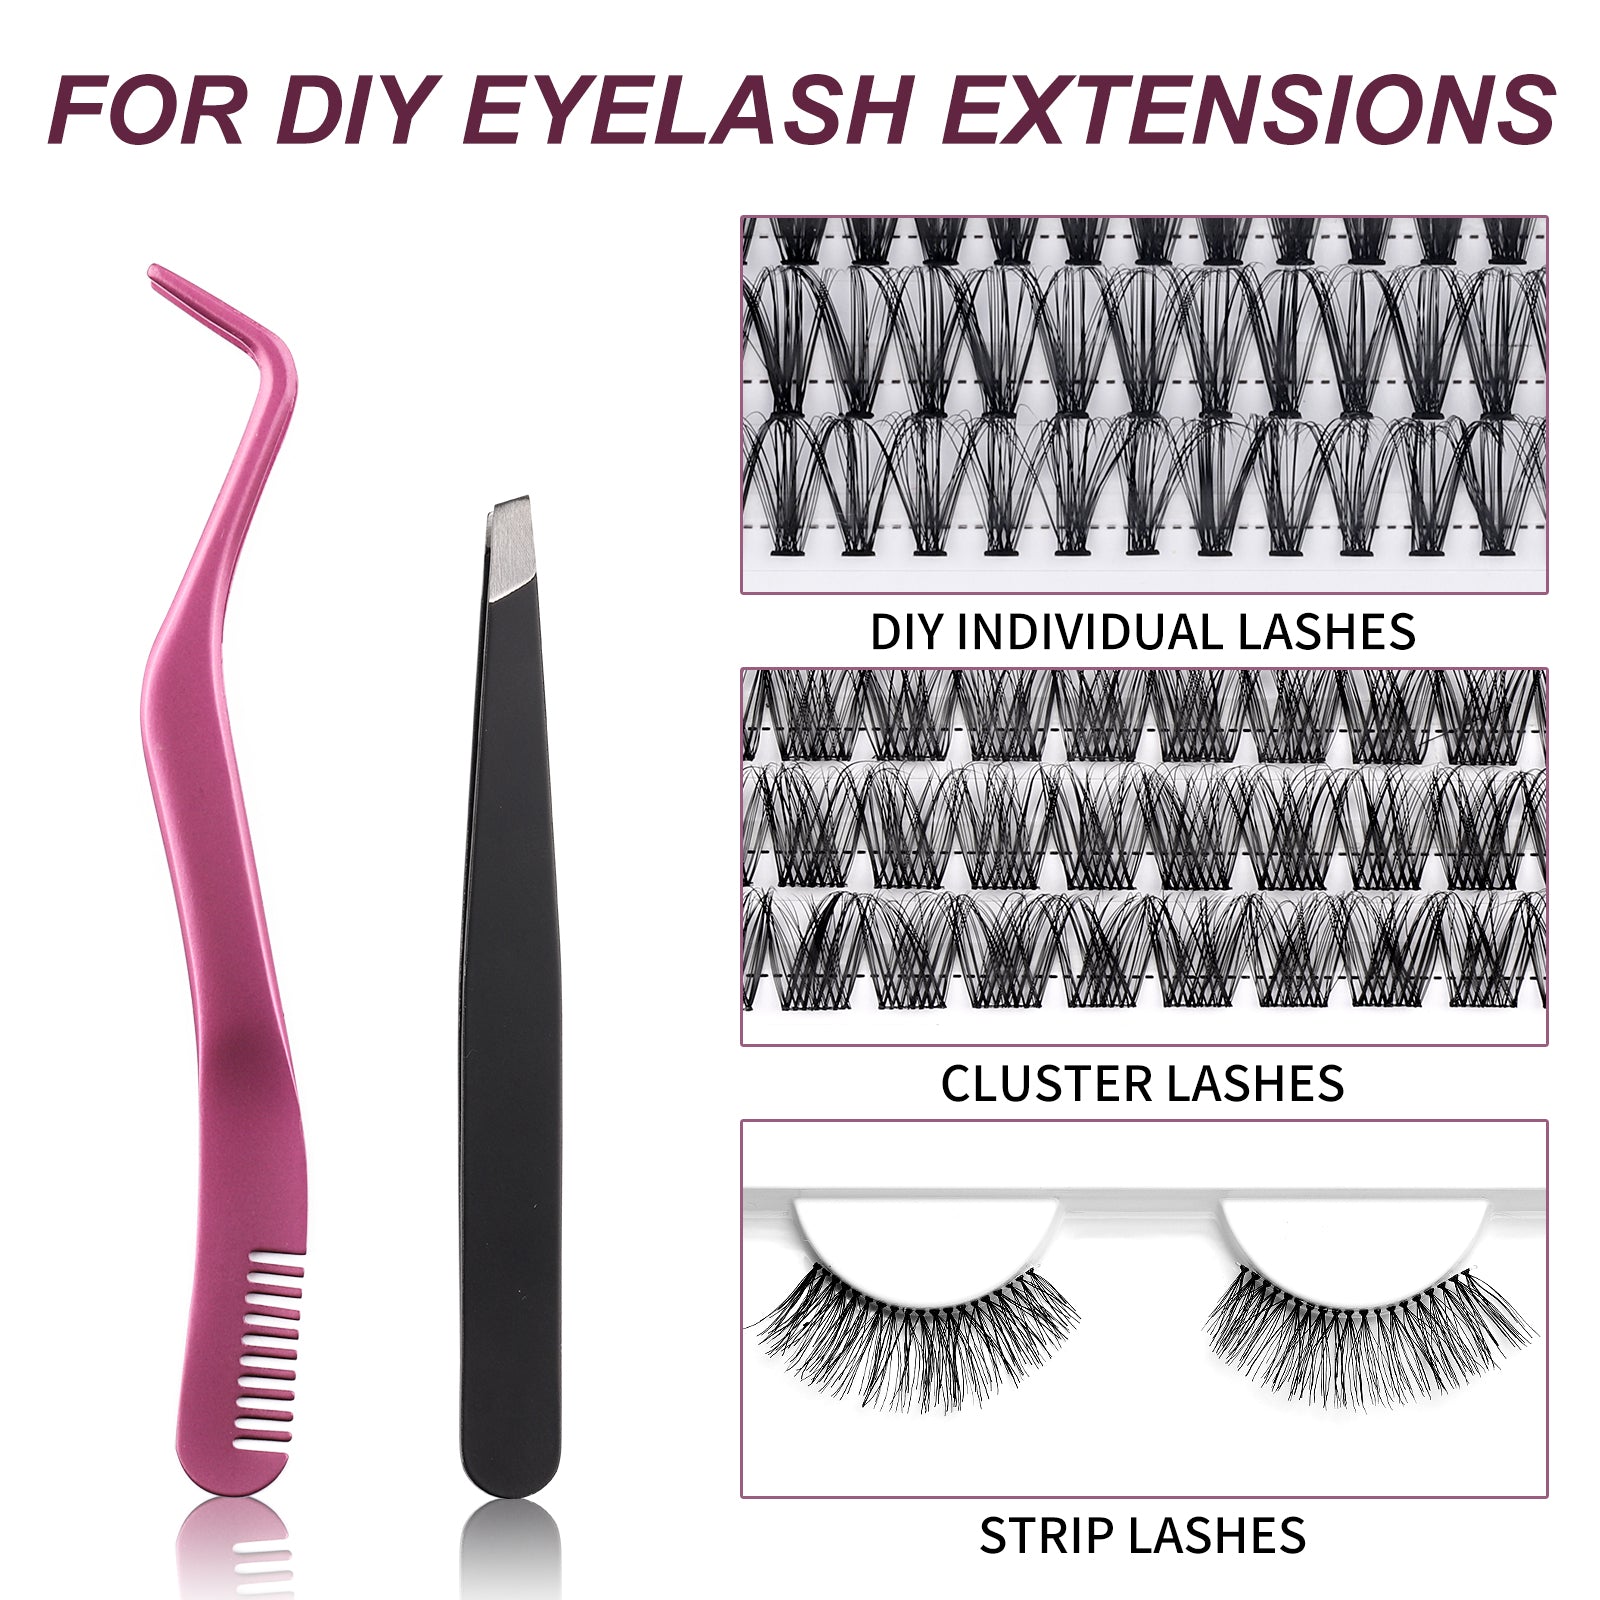
Squeeze a small amount of glue onto the glue stick/cotton swab and then dab the cotton swab with glue on the root of the false lashes. Afterwards, pick a handful of lashes with curved tweezers and stick them to your eye (you can also use your fingers when you're not sure how to handle them, provided they're clean).
Eyelash extensions step 4: curved tweezers to fix the false eyelashes
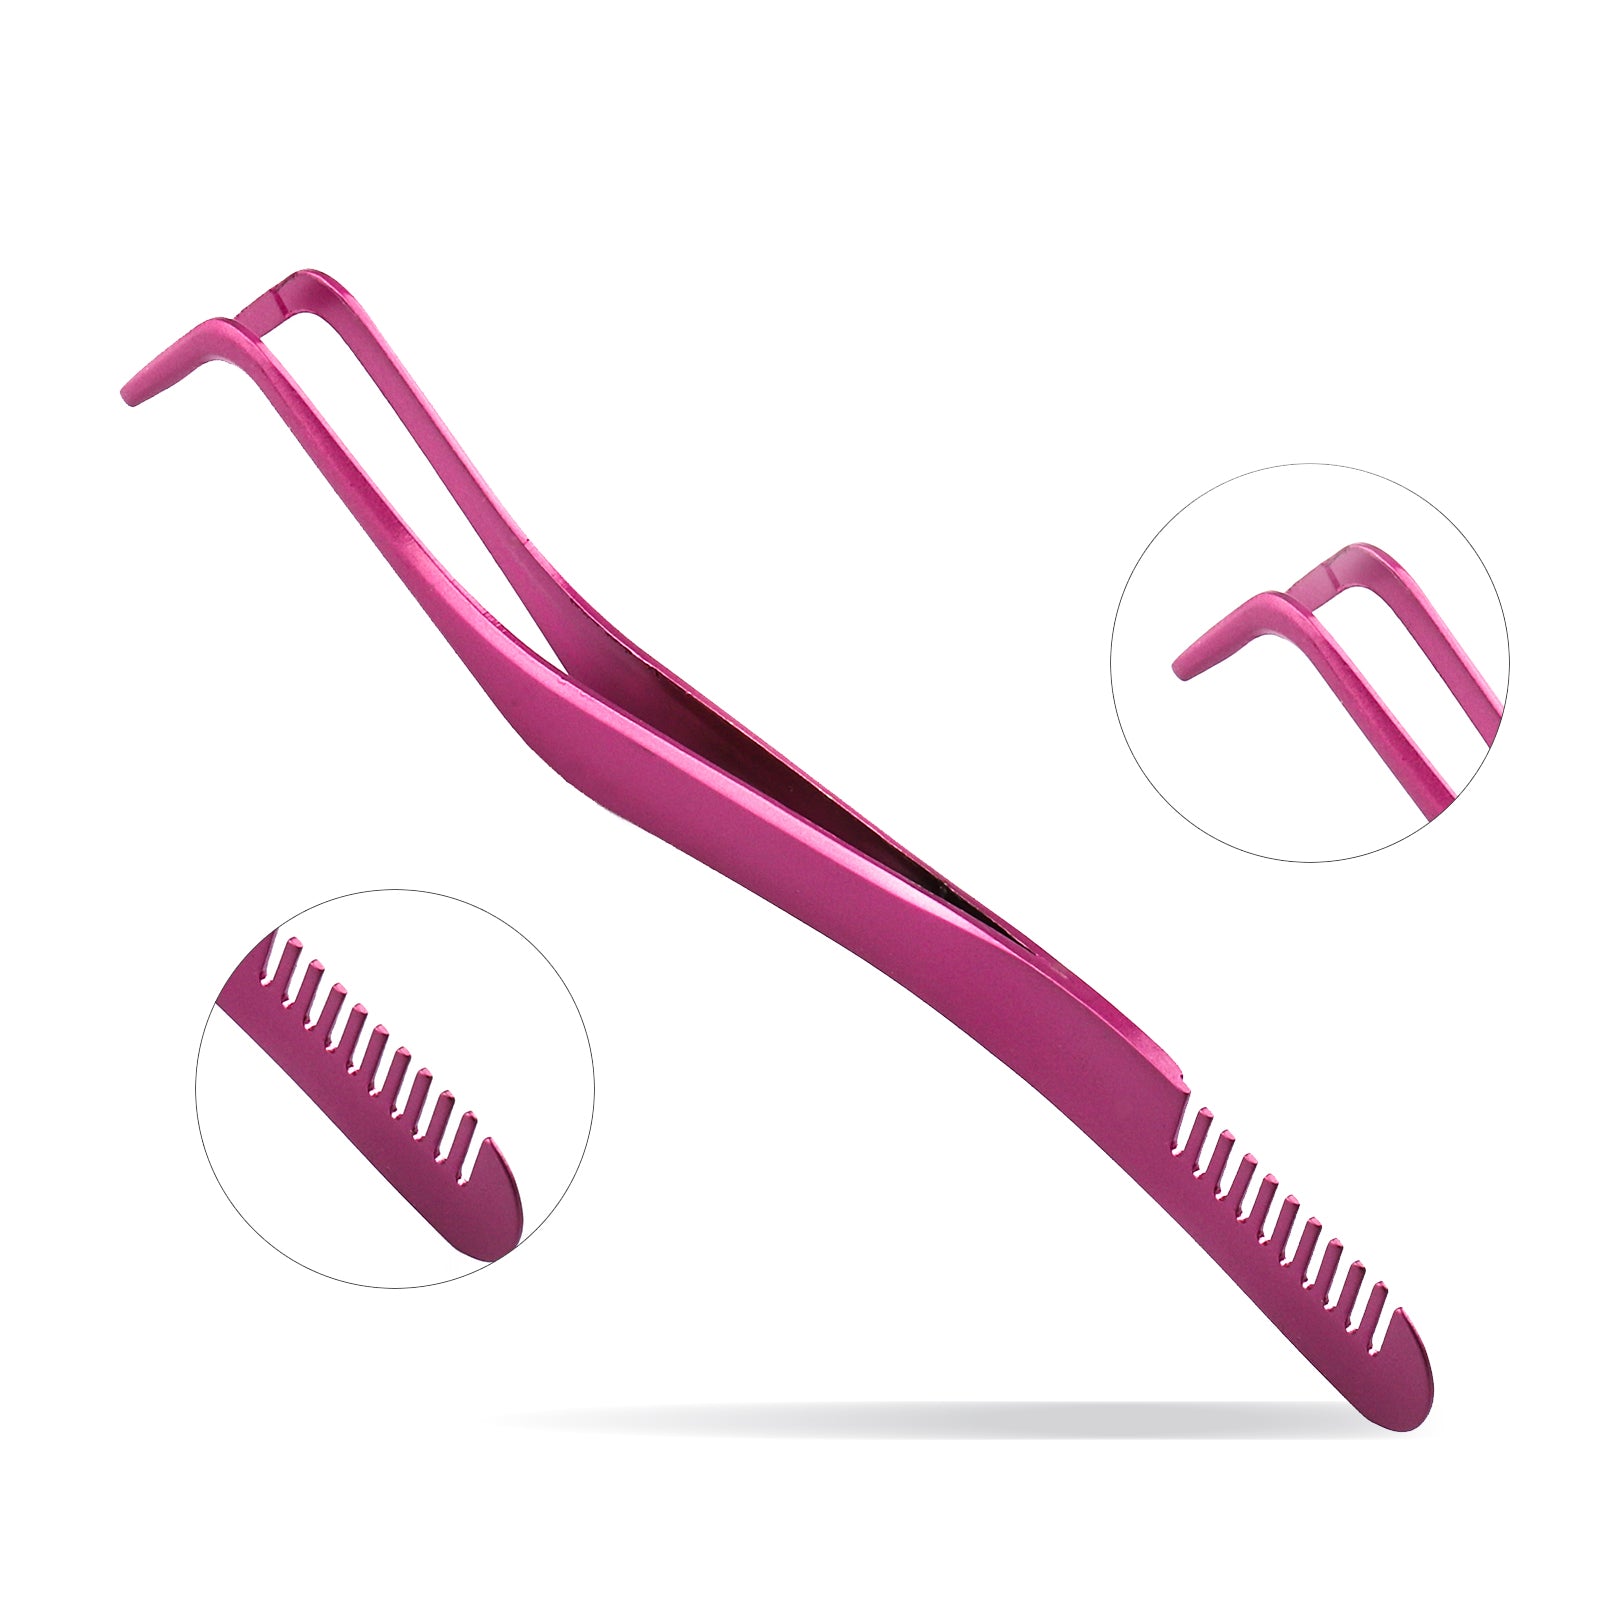
Don't let go of the extensions right away, use the curved part of the tweezers to gently press down on the extensions and hold them in place for a few seconds, blinking your eyes a little bit more after you've made sure they're in place. This is to prevent the glue from sticking to your lower eyelashes. After trying to blink, you can choose to dry your lashes with a low volume blow dryer or naturally.
Eyelash Extensions Step 5: Remove Eyelash Extensions
Eyelash extensions will fall off one by one after a week because the adhesive strength of the glue decreases, and the lashes will look uneven. If you feel that your eyelashes are not in good shape, then you can choose to remove them.
How to remove eyelashes
Put a thin piece of cotton under the eyelashes, and then dip a cotton swab into the eyelash remover cream or liquid and apply it to the roots of the eyelashes (it is best to use a matching remover). You need to pay attention to the technique when removing. You can apply while pressing to make each handful of lashes coated with the cream, let the cream stay at the root of the lashes for 2 to 3 minutes, gently scrape the root of the lashes with a cotton swab, and the false lashes will fall off obediently.
Notice
1. Eyelashes should be applied on the native eyelashes
Note that the eyelashes you plant should be on your real eyelashes, not on your skin, if the eyelashes are attached to the skin then they will still all fall off.
For those who don't have sensitive eyes and don't tear easily, you can plant your lashes as close to your skin as possible (but make sure they stay on your real lashes), which will also make the false lashes look more natural.
2. Choose a better quality eyelash extension kit
Good quality eyelash extension kits are mainly good in terms of the quality of the glue, which is generally non-allergenic, does not have a particularly pungent odor, and has perfect adhesive power. So it is best to choose a good quality eyelash extension kit in order not to irritate our skin during the extensions process.


