A Beginner's Guide to Wearing DIY Lashes: Choosing and Applying
Choosing the Right Lashes
Before diving into the application process, it's crucial to select the right lashes that suit your eye shape and desired look.
Types of Lashes
Strip Lashes: These are the most common and easiest for beginners. They come in various styles, from natural to dramatic.
Individual Lashes: These allow for a more customized look but require more precision and time.
Cluster Lashes: A middle ground between strip and individual lashes, offering a fuller look with less effort.
Styles
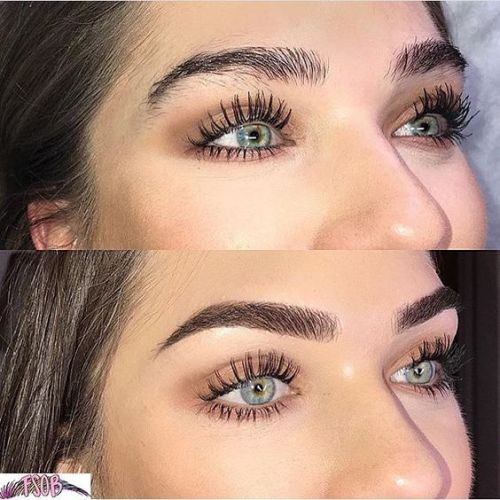
Natural: Ideal for everyday wear, giving a subtle enhancement.
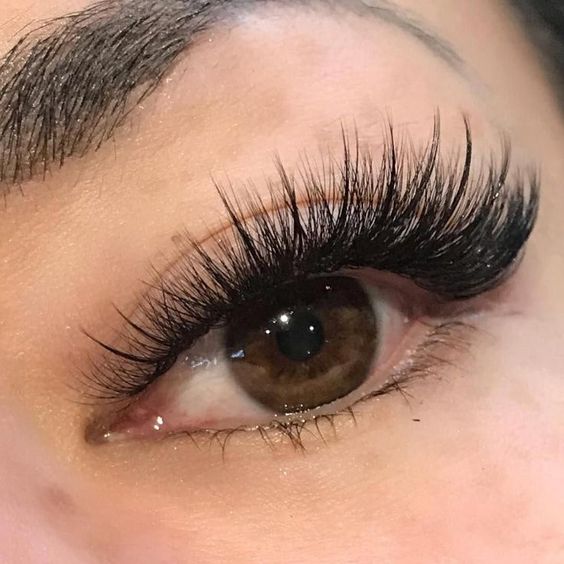
Dramatic: Perfect for special occasions, offering maximum volume and length.
Wispy: These provide a fluttery, delicate look.
Cat Eye: Lashes that are longer at the outer corners, ideal for an elongated eye effect.
Preparing Your Natural Lashes
Proper preparation of your natural lashes is essential for a seamless application.
- Cleanse Your Eyelids: Ensure your eyelids and lashes are free of oil and makeup. Use a gentle cleanser or makeup remover.
- Curl Your Natural Lashes: This step helps your natural lashes blend better with the falsies. Use an eyelash curler to lift them.
- Apply Mascara: Applying a thin coat of mascara before the lashes helps them adhere better and blend seamlessly.
Applying the Lashes
Now that you've chosen your lashes and prepared your natural ones, it's time to apply them.
- Measure and Trim: Place the lash strip along your natural lash line to measure. Trim any excess from the outer corners to ensure a perfect fit.
- Apply Adhesive: Use a high-quality lash adhesive. Apply a thin layer along the lash band and wait about 30 seconds for the glue to become tacky. This step ensures the lashes adhere better and stay in place longer.
- Place the Lashes: Using tweezers or a lash applicator, place the lash strip as close to your natural lash line as possible. Start at the center, then secure the outer and inner corners.
- Press and Secure: Gently press the lash band into your lash line to secure it. You can use the back of the tweezers or your fingers for this step.
- Blend with Mascara: After the adhesive has dried, apply another coat of mascara to blend your natural lashes with the falsies seamlessly.
- Eyeliner Touch-Up: Finish the look by applying eyeliner to conceal any gaps and create a polished finish.
Tips for Success
- Practice Makes Perfect: Don't be discouraged if you don't get it right the first time. Practice will help you improve your technique.
- Use a Mirror: A magnifying mirror can help you see better and place the lashes more accurately.
- Be Patient with Glue: Let the glue become tacky before applying the lashes. This step is crucial for a secure hold.
- Remove Gently: When it's time to remove your lashes, be gentle. Use an oil-based makeup remover to dissolve the adhesive, then peel off the lashes carefully.
Caring for Your Lashes
Proper care extends the life of your lashes, allowing you to reuse them multiple times.
- Clean After Each Use: Remove any adhesive and mascara residue with a gentle cleanser or makeup remover.
- Store Properly: Keep your lashes in their original packaging to maintain their shape and protect them from dust.
- Avoid Excessive Mascara: Applying too much mascara can shorten the lifespan of your lashes. Use a light hand.
By following these steps, you'll be able to choose and apply DIY lashes with confidence. Whether you're aiming for a natural look or something more dramatic, the right lashes can elevate your makeup game and make your eyes the center of attention. Happy lashing!


