DIY Lashes for Beginners: Common Mistakes and How to Avoid Them
DIY lashes are a fun and affordable way to get glamorous, full lashes at home, without setting foot in a salon. Whether you’re applying strip lashes, cluster lashes, or semi-permanent DIY extensions, they can enhance your eyes instantly. But if you're new to the process, it’s easy to run into some common pitfalls that lead to poor results, discomfort, or even damage to your natural lashes.
If you're a beginner, this guide will walk you through the most common DIY lash mistakes and exactly how to avoid them so you can achieve salon-worthy results from the comfort of your home.
Mistake #1: Choosing the Wrong Lash Style
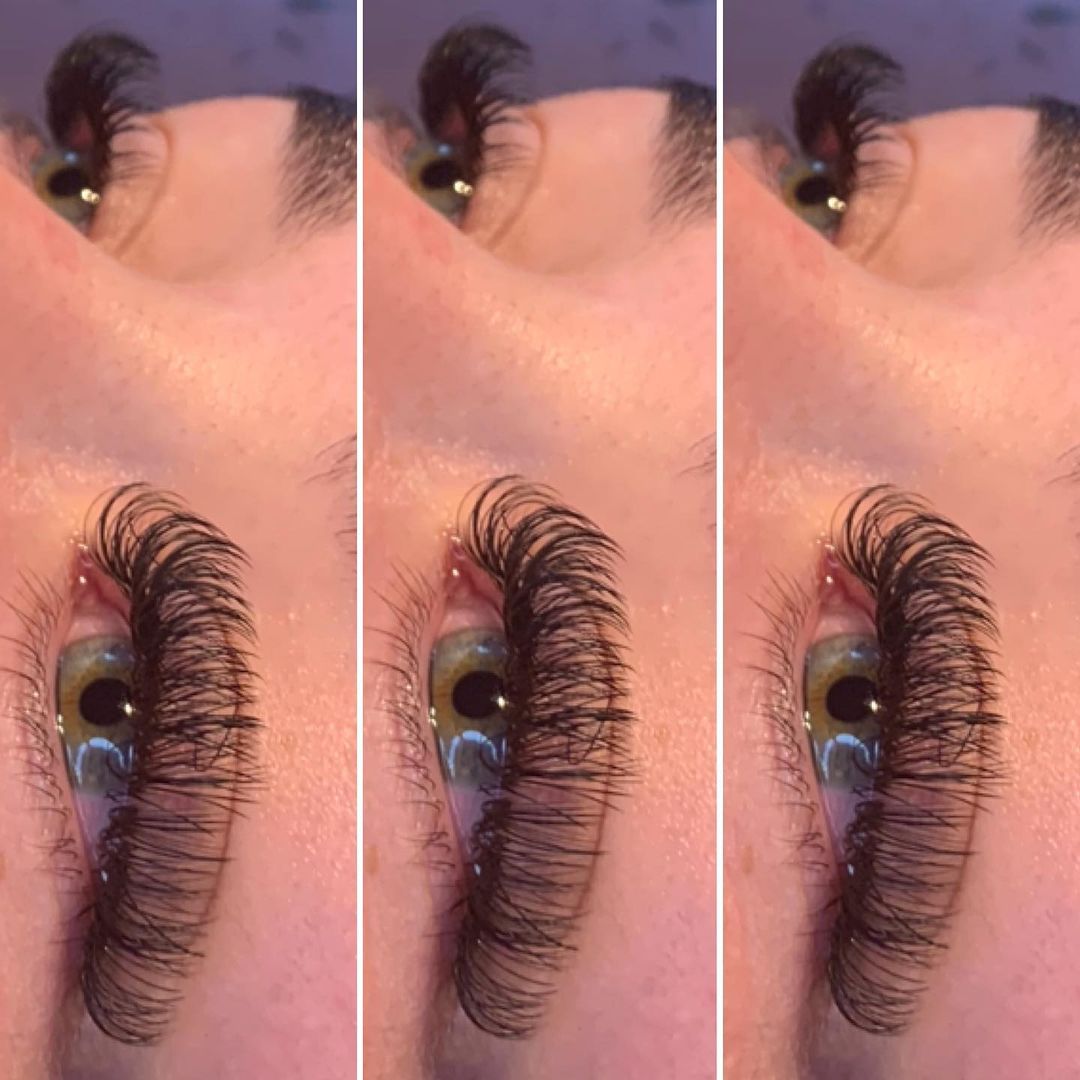
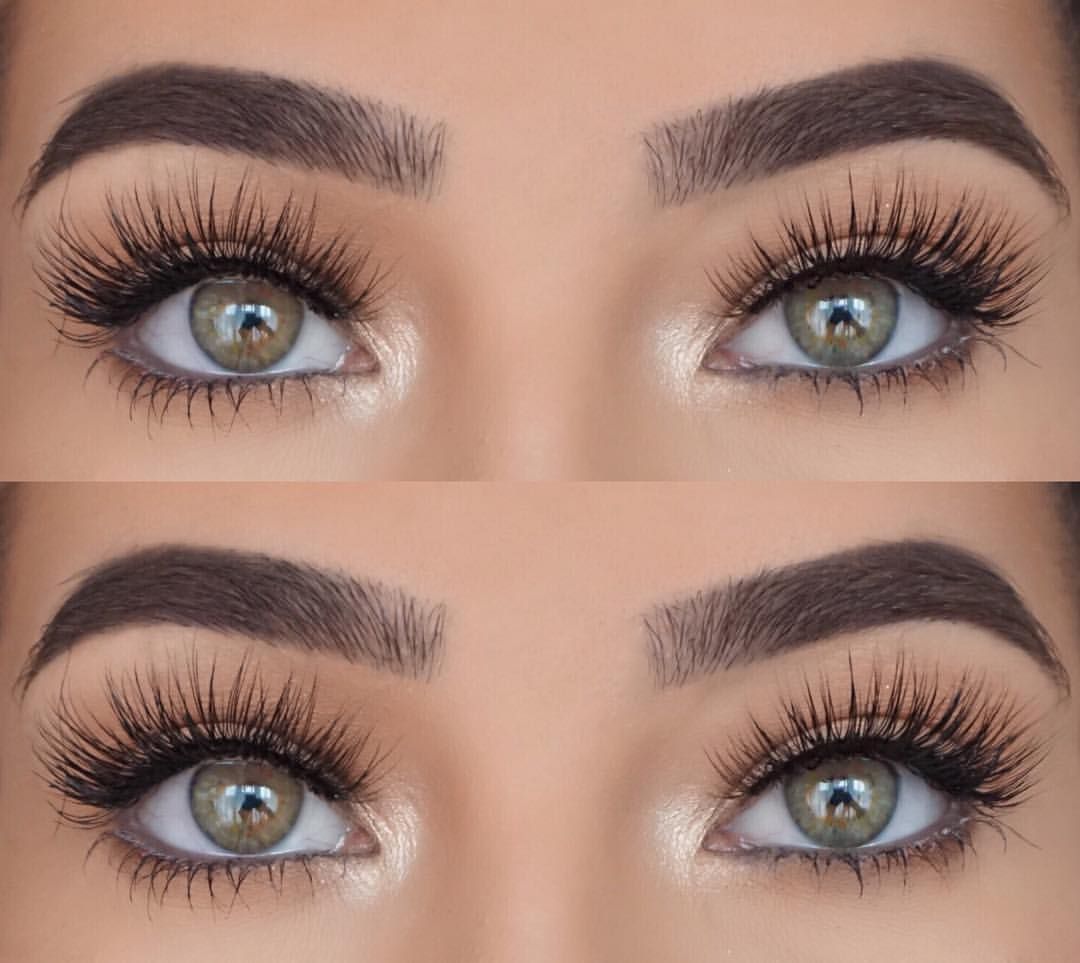
One of the first mistakes beginners make is picking lashes that are too dramatic, too long, or don’t complement their eye shape.
How to Avoid It:
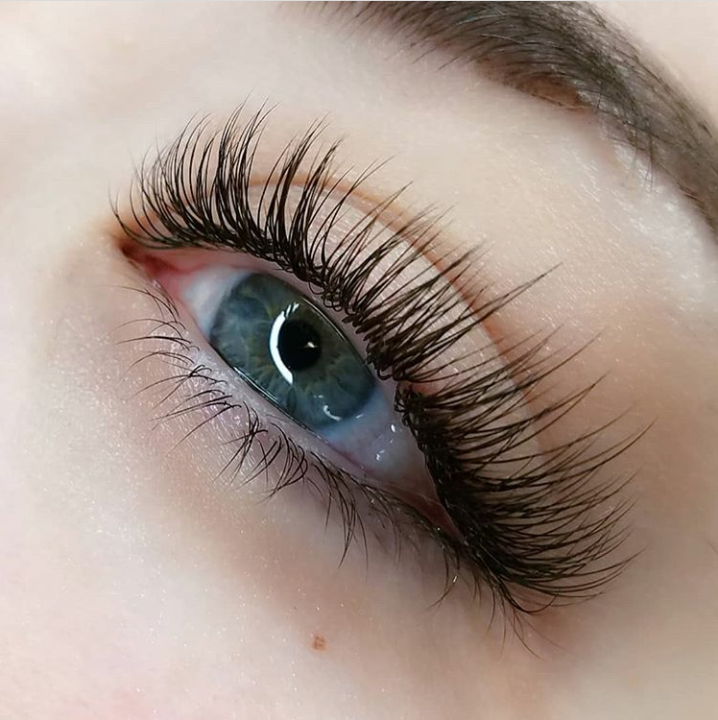
Start with natural-looking styles—shorter lengths and lighter volume are easier to apply and look more realistic.
Consider your eye shape: Almond, round, hooded, or monolid eyes all benefit from different lash styles. For instance, cat-eye lashes work well on round eyes, while a doll-eye style can open up hooded lids.
Look for “wispy” or “everyday” lashes if you're unsure where to start.
Mistake #2: Skipping the Lash Trim
Pre-made strip lashes are designed to be trimmed to fit your lash line. Wearing them right out of the box can cause discomfort and lifting at the corners.
How to Avoid It:
Measure and trim your strip lashes before applying.
Cut from the outer edge, not the inner corner, to preserve the natural taper.
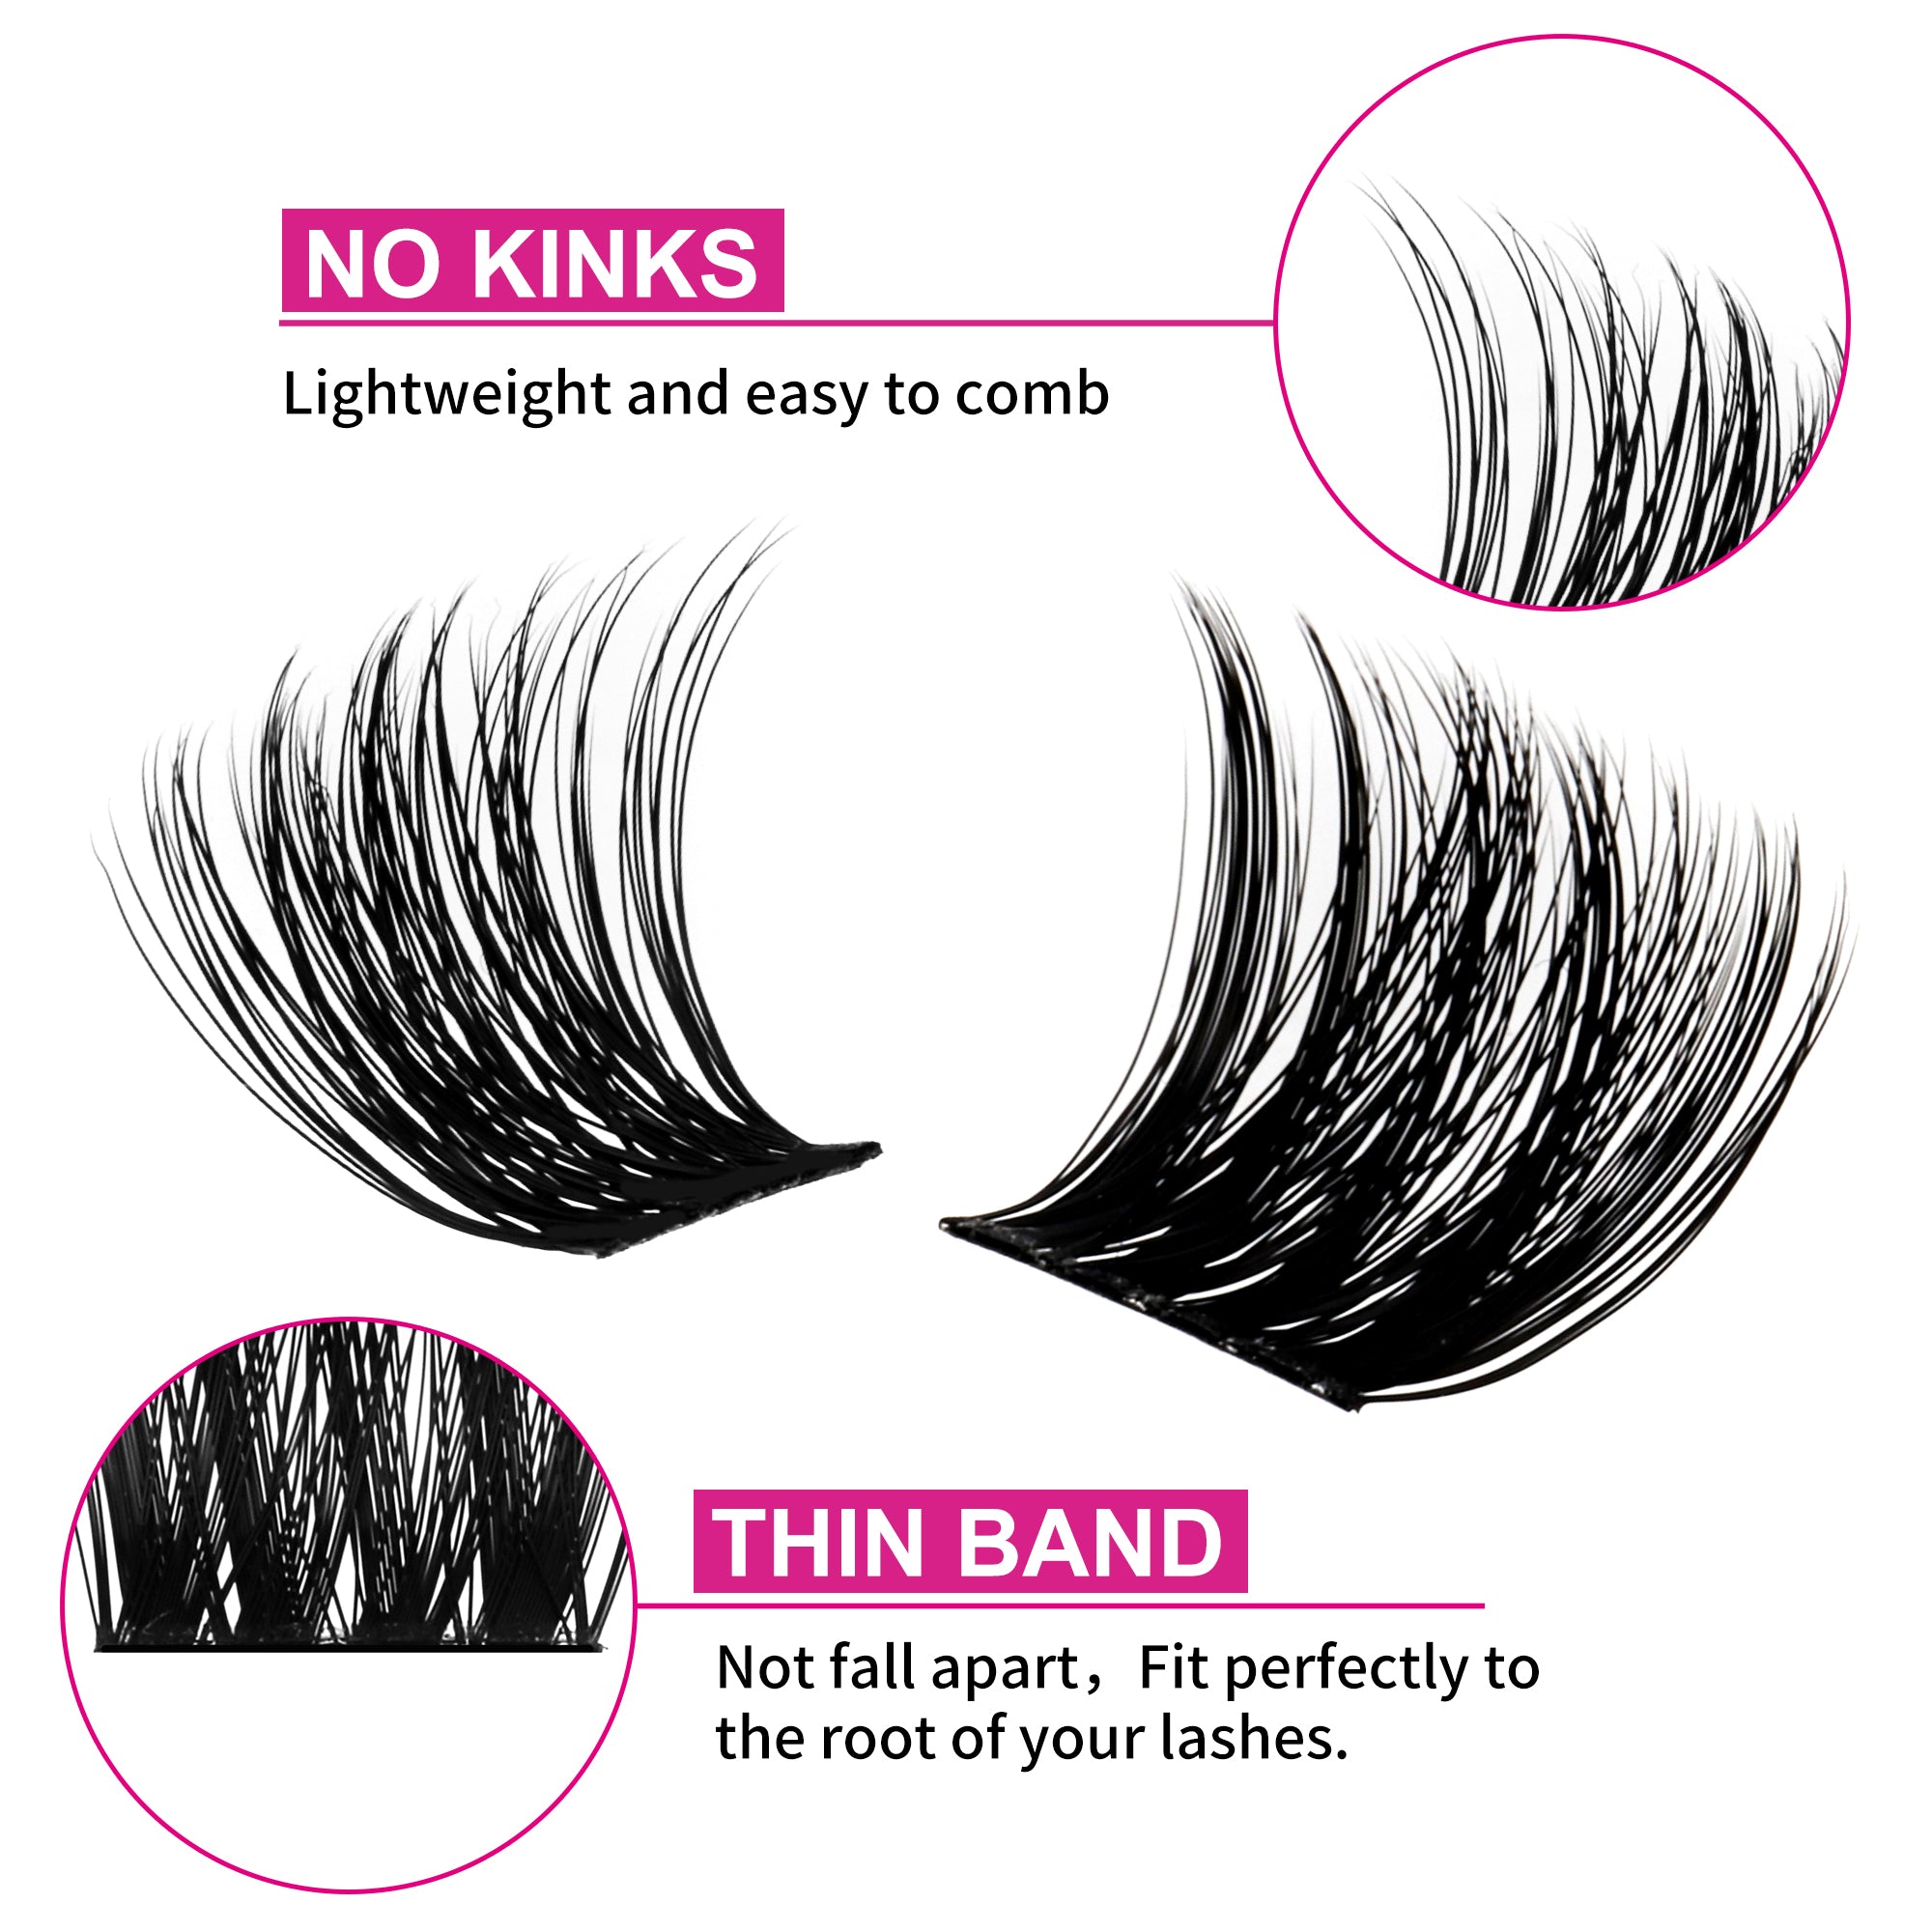
If using clusters, don’t overcrowd the lash line—space them evenly for a balanced look.
Mistake #3: Using the Wrong Adhesive
Using low-quality glue or the wrong type of adhesive is one of the fastest ways to ruin your lash look or cause irritation.
How to Avoid It:
Use lash glue specifically made for strip or cluster lashes—avoid hair glue or craft adhesives.
For sensitive eyes, choose latex-free formulas.
Let the glue get tacky (about 30–45 seconds) before applying, so it adheres better.
Mistake #4: Applying to Dirty Lids
Lash adhesive won’t stick to oily or dirty skin, and your lashes won’t last long if your lids aren’t clean.
How to Avoid It:
Always start with a clean, oil-free eyelid.
Use a gentle micellar water or oil-free cleanser to remove makeup and residue before application.
Mistake #5: Applying Too Close to the Eyeball
Placing the lash strip or clusters directly on your lash line can cause discomfort, irritation, and even damage to your natural lashes.
How to Avoid It:
Place lashes just above the natural lash line, not on top of your lashes or touching the waterline.
Use tweezers or a lash applicator tool to gain better control and accuracy.
Mistake #6: Not Removing Lashes Properly
Ripping off lashes at the end of the night is a fast track to damaging your natural lashes.
How to Avoid It:
Use a gentle oil-based makeup remover to loosen the glue.
Gently peel from the outer corner inward using your fingers or tweezers.
Clean and store reusable lashes in their tray to extend their life.
Mistake #7: Overusing Mascara on DIY Lashes
Some beginners apply mascara directly onto DIY strip lashes, which shortens their lifespan and creates clumps.
How to Avoid It:
Apply mascara to your natural lashes before putting on falsies if needed.
Avoid waterproof mascara—it’s harder to remove and can damage both false and natural lashes.
If you must apply mascara after, use a light coat on the bottom side only and avoid the base.
DIY lashes can be easy, fun, and incredibly rewarding when done right, but as a beginner, knowing what not to do is just as important as knowing how to apply them. By avoiding these common mistakes and following the tips above, you’ll be on your way to flawless, comfortable lashes that look like they came straight from a salon.
Ready to get started? Start with a natural pair, follow proper prep and removal steps, and don’t be afraid to practice. In no time, you’ll be applying DIY lashes like a pro.